Overview
The pull to refresh feature has become indispensible in modern iOS apps. This post will show you how to make a custom pull-to-refresh feature for your UITableView. To understand how to create this feature, I read this post from appcoda and this post from jackrabbitmobile.
Content
Before we begin, you should read my UITableView post and create a UITableView.
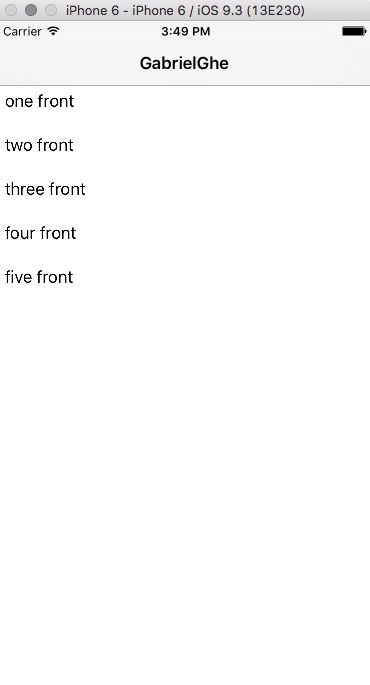
After following that post, you should have this.

In the UITableViewController, we’re going to add a UIRefreshControl.
1
2
3
4
5
6
7
8
9
10
11
12
13
14
15
16
17
18
var refreshControl: UIRefreshControl!

override func viewDidLoad() {
  ...
  refreshControl = createRefreshControl()
  self.tableView.addSubview(refreshControl)
  ...
}

func createRefreshControl() {
  let refreshControl = UIRefreshControl()
  refreshControl.addTarget(self, action: "refresh:", forControlEvents: .ValueChanged)
  return refreshControl
}

func refresh(refreshControl: UIRefreshControl) {
  refreshControl.endRefreshing()
}
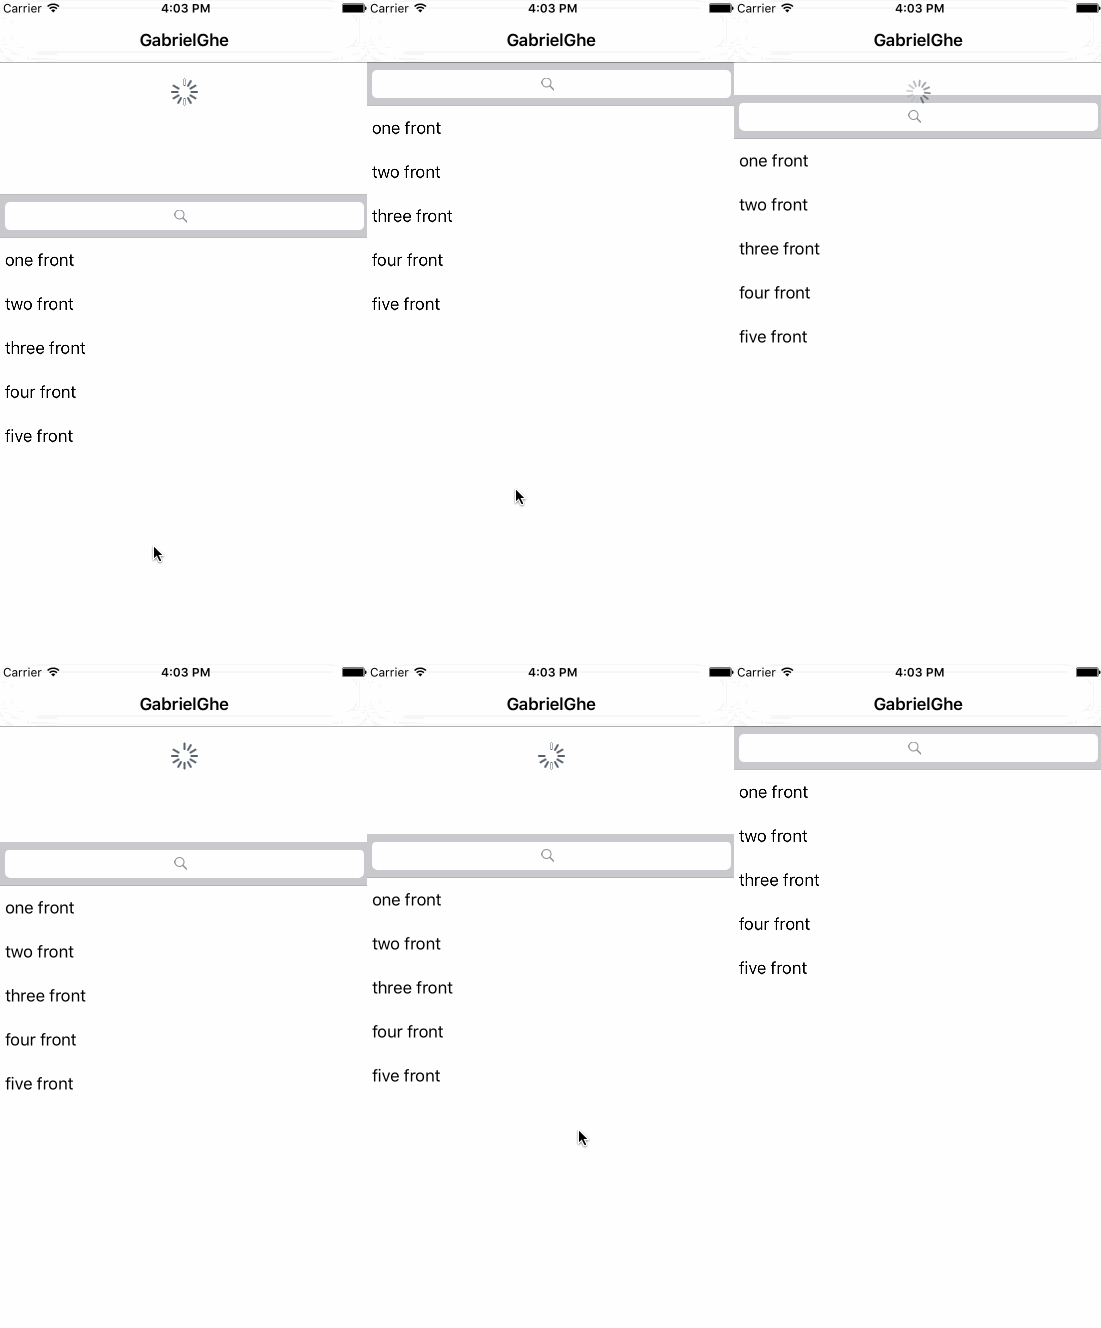
Which will give you this.

Custom Reload
We will now create a .xib file (File -> New File -> iOS User Interface -> Empty) and update it to look like this with a Label in the middle. I named this file RefreshContents.xib.

You can paste this into the .xib’s source code over <objects> to have it look like mine. (Right click .xib file -> open as -> source)
1
2
3
4
5
6
7
8
9
10
11
12
13
14
15
16
17
18
19
20
21
22
23
24
25
26
27
28
29
30
31
32
33
34
35
36
37
38
39
<objects>
  ...

  <view contentMode="scaleToFill" id="qv9-k9-4pZ">
    <rect key="frame" x="0.0" y="0.0" width="600" height="60"/>
    <autoresizingMask key="autoresizingMask" widthSizable="YES" heightSizable="YES"/>

    <subviews>
        <label opaque="NO" userInteractionEnabled="NO"
        contentMode="left" horizontalHuggingPriority="251"
        verticalHuggingPriority="251" misplaced="YES"
        text="GabrielGhe Reloader" textAlignment="center"
        lineBreakMode="tailTruncation"
        baselineAdjustment="alignBaselines" adjustsFontSizeToFit="NO"
        translatesAutoresizingMaskIntoConstraints="NO" id="lIm-6c-Dpw">
            <rect key="frame" x="218" y="19" width="165" height="21"/>
            <fontDescription key="fontDescription" style="UICTFontTextStyleBody"/>
            <color key="textColor" cocoaTouchSystemColor="darkTextColor"/>
            <nil key="highlightedColor"/>
        </label>
    </subviews>

    <color key="backgroundColor" red="0.92549020049999997"
      green="0.94117647410000005" blue="0.94509804249999996"
      alpha="1" colorSpace="calibratedRGB"/>

    <constraints>
        <constraint firstItem="lIm-6c-Dpw" firstAttribute="centerY"
          secondItem="qv9-k9-4pZ" secondAttribute="centerY" id="Qdc-EZ-PRN"/>
        <constraint firstItem="lIm-6c-Dpw" firstAttribute="centerX"
          secondItem="qv9-k9-4pZ" secondAttribute="centerX" id="vzL-Om-zJi"/>
    </constraints>

    <nil key="simulatedStatusBarMetrics"/>
    <freeformSimulatedSizeMetrics key="simulatedDestinationMetrics"/>
  </view>

  ...
</objects>
We have to load this .xib and have it be displayed instead of the spinner. We’ll do this in the loadCustomRefreshContents(). The rest of the code should be the same with the exception of making the refreshControl’s background and tint clear.
1
2
3
4
5
6
7
8
9
10
11
12
13
14
15
16
17
18
19
20
21
22
23
24
25
26
27
28
var refreshControl: UIRefreshControl!
var customRefreshView: UIView!

override func viewDidLoad() {
  refreshControl = createRefreshControl()
  loadCustomRefreshContents()
  self.tableView.addSubview(refreshControl)
}

func createRefreshControl() {
  let refreshControl = UIRefreshControl()
  refreshControl.addTarget(self, action: "refresh:", forControlEvents: .ValueChanged)
  refreshControl.backgroundColor = UIColor.clearColor()
  refreshControl.tintColor = UIColor.clearColor()
  return refreshControl
}

func refresh(refreshControl: UIRefreshControl) {
  refreshControl.endRefreshing()
}

func loadCustomRefreshContents() {
    let refreshContents = NSBundle.mainBundle()
                            .loadNibNamed("RefreshContents", owner: self, options: nil)
    customRefreshView = refreshContents[0] as! UIView
    customRefreshView.frame = refreshControl.bounds
    refreshControl.addSubview(customRefreshView)
}
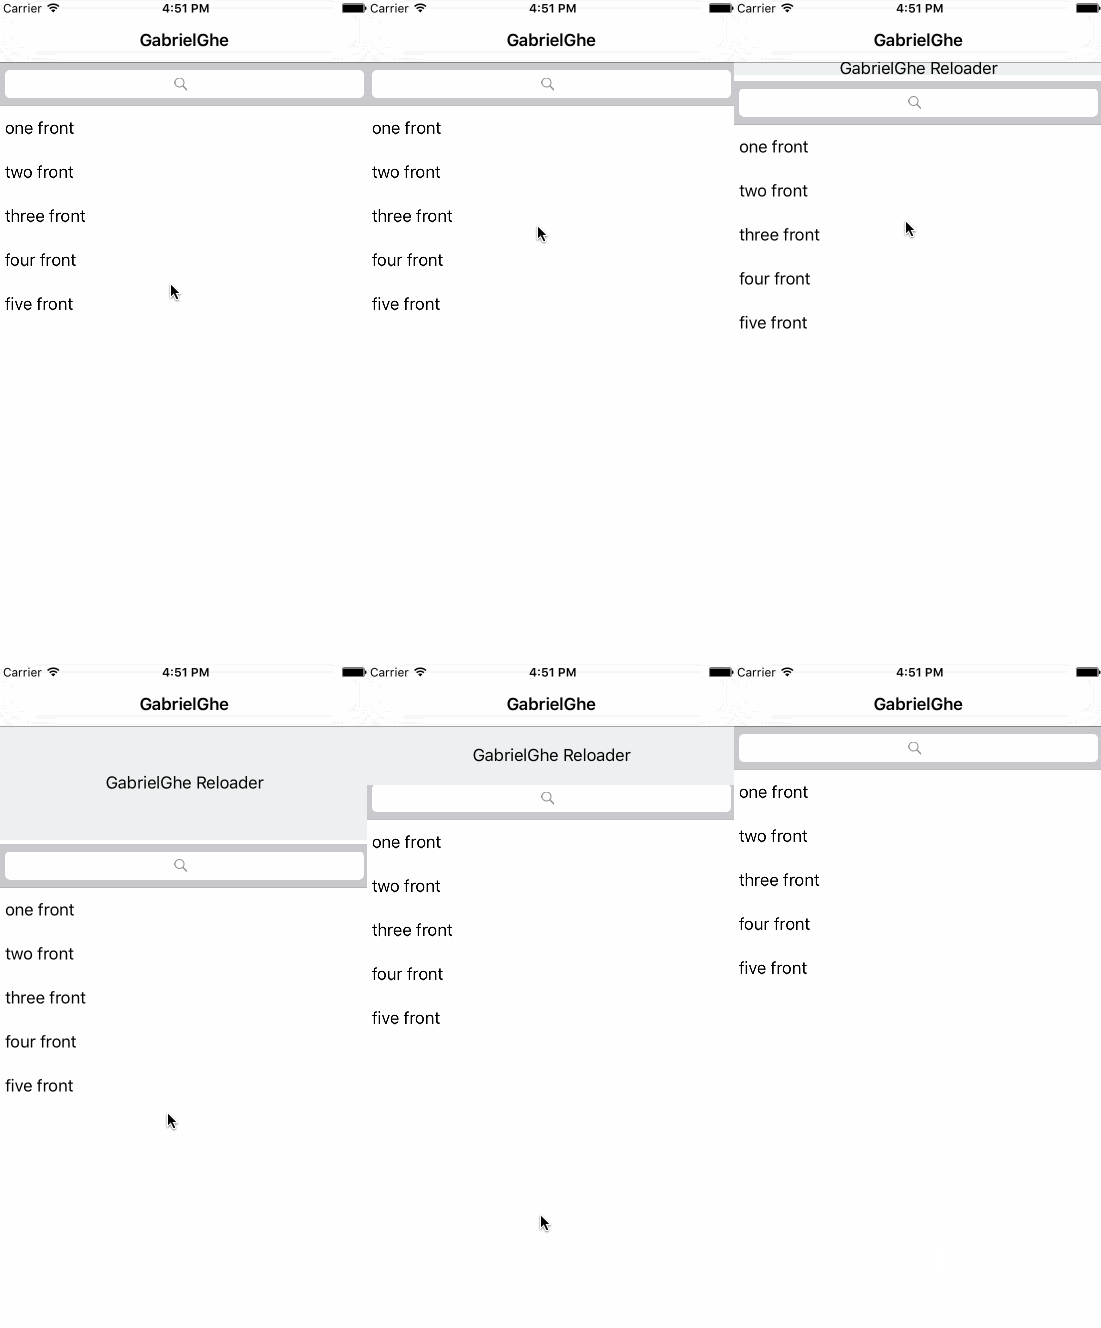
The end result is this.
